Surya Namaskar
Surya Namaskar or Sun Salutation and enough clearance to stretch the arms above the head while standing.
It consists of 12 series of postures that are performed continuously and combined with synchronized breathing. Each position counteracts the preceding one producing a balance between flexions and extensions.
There are two types of Surya Namaskar: Traditional and Modern. Here we will be talking about the Traditional Surya Namaskar:
Pose 1: Prayer Pose (Pranamasana)
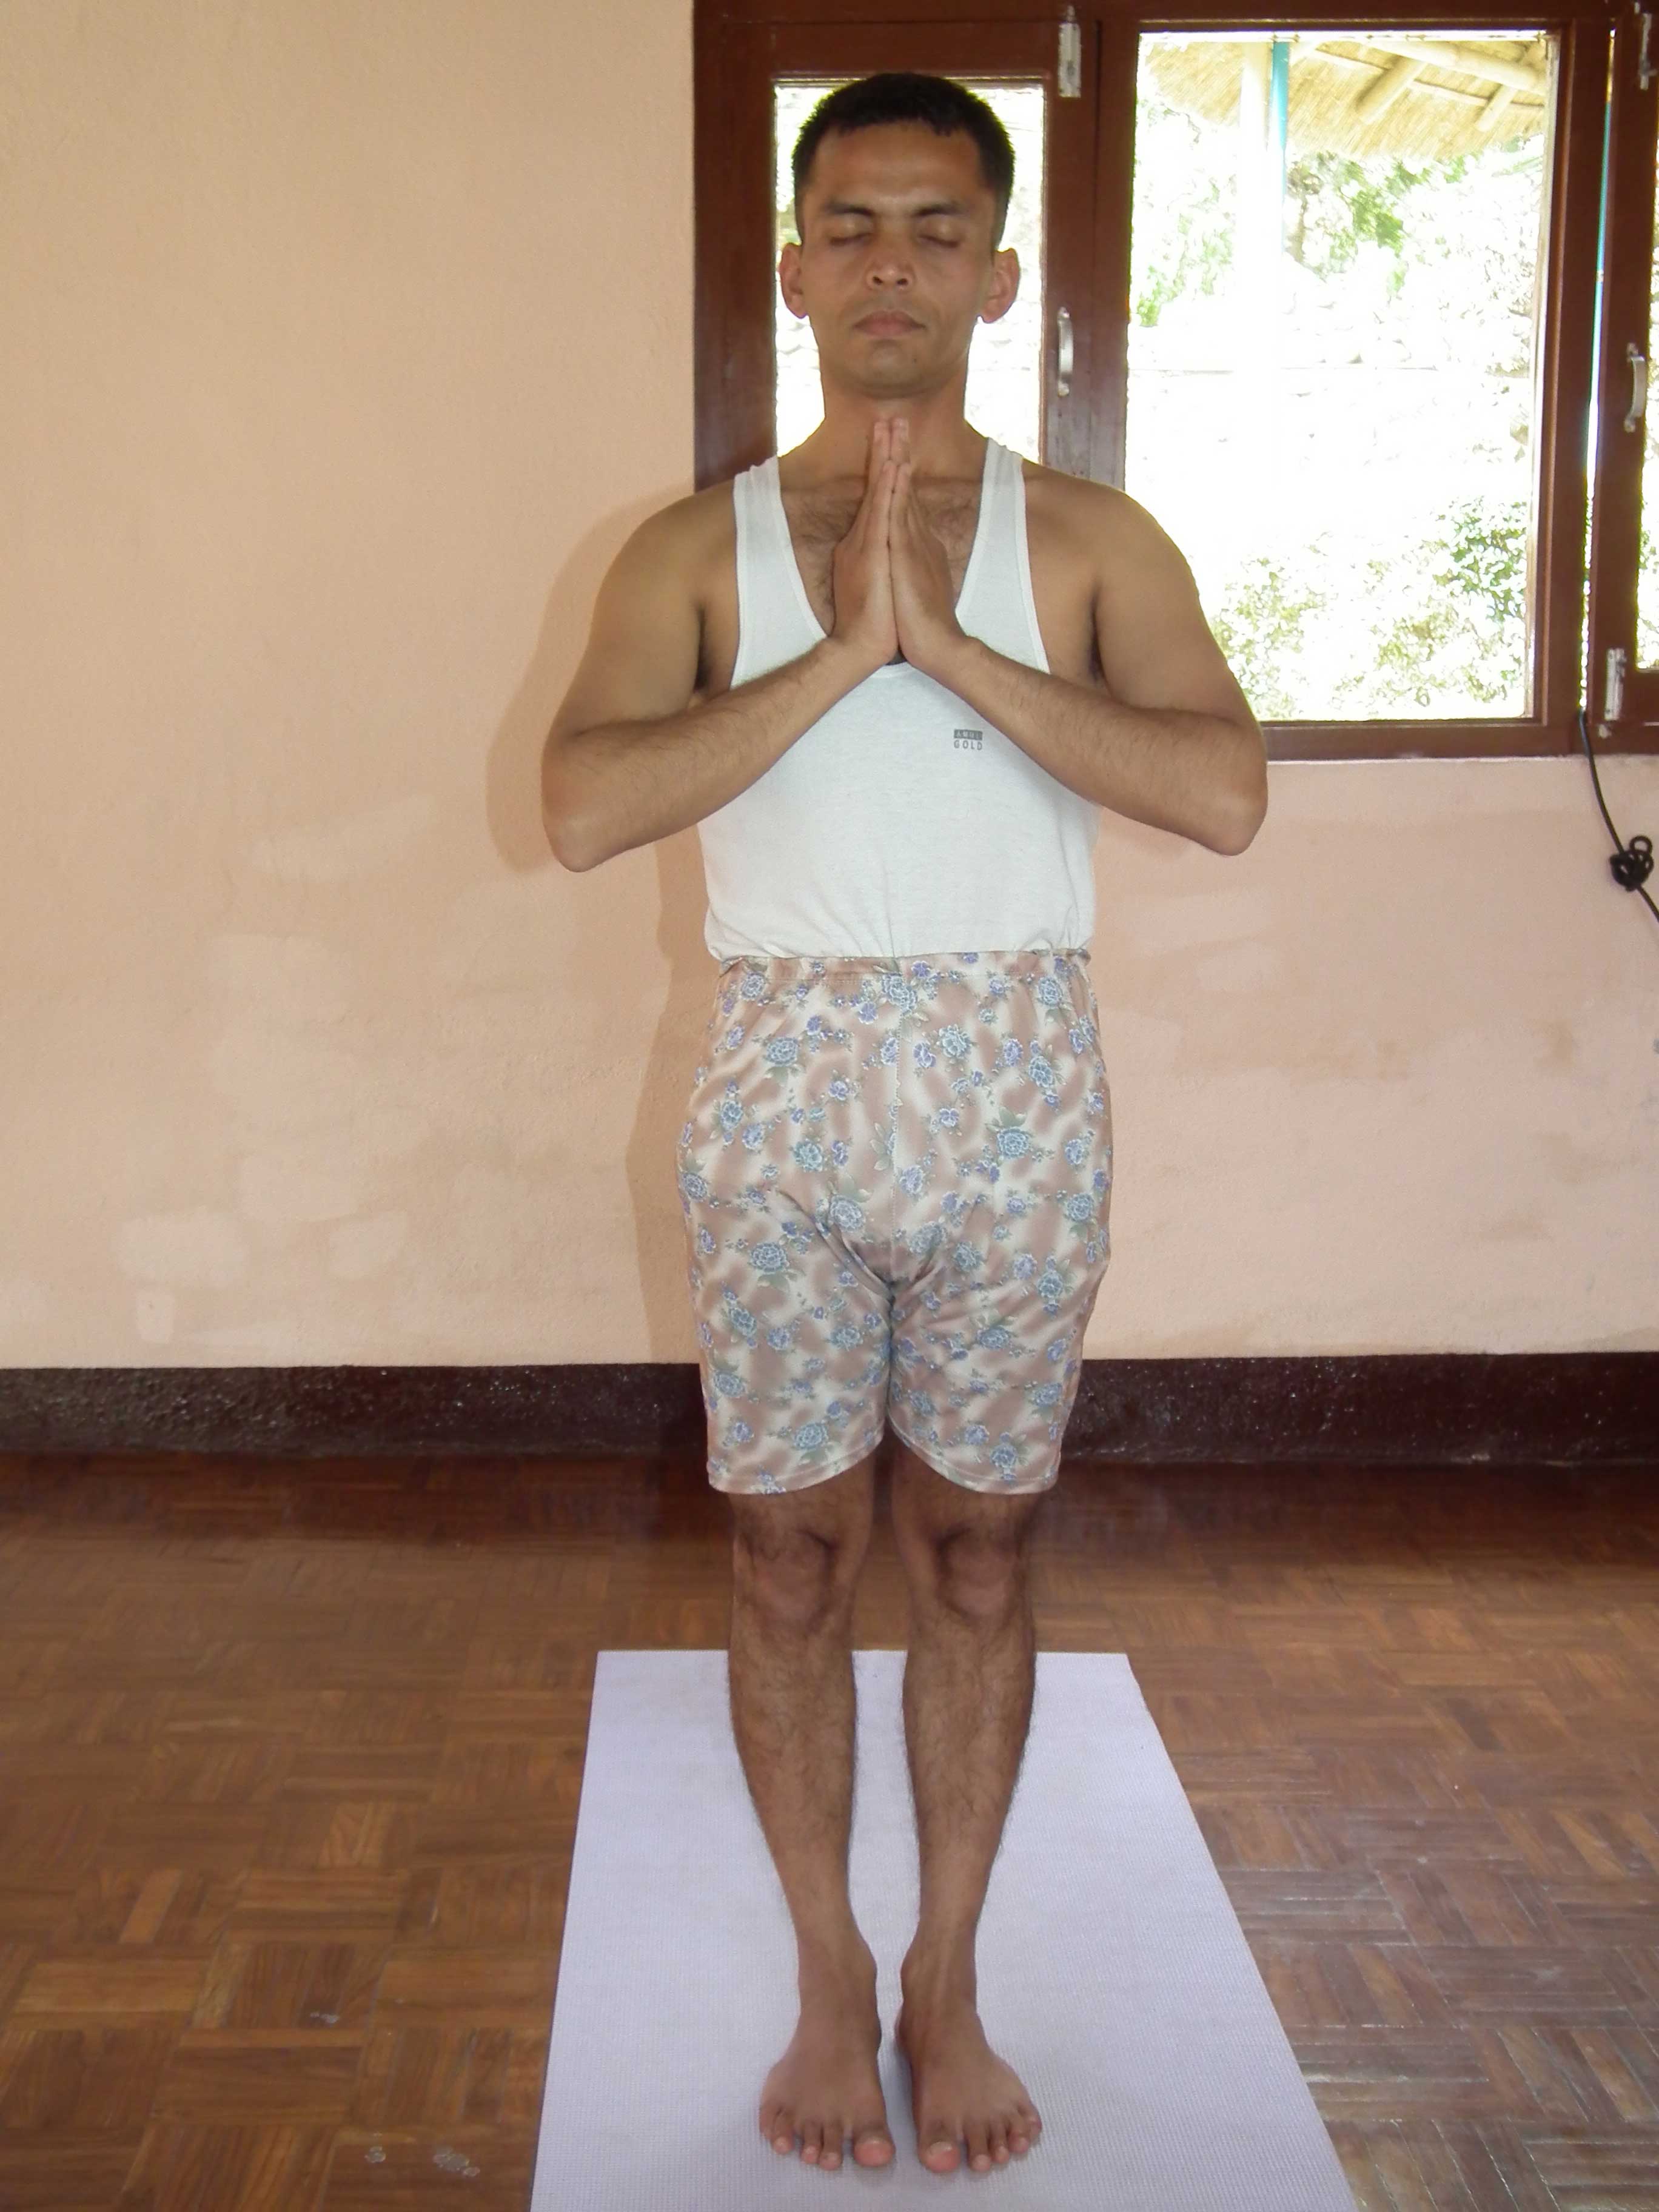
Stand at the edge of your mat, keep your feet together, and balance your weight equally on both feet. Expand your chest and relax your shoulders. As you breathe in, lift both arms from the sides, and as you exhale, bring your palms together in front of the chest in a prayer position. Then Pray the Sun Salutation Mantra.
Pose 2: Raised Arms Pose (Uttanasana)
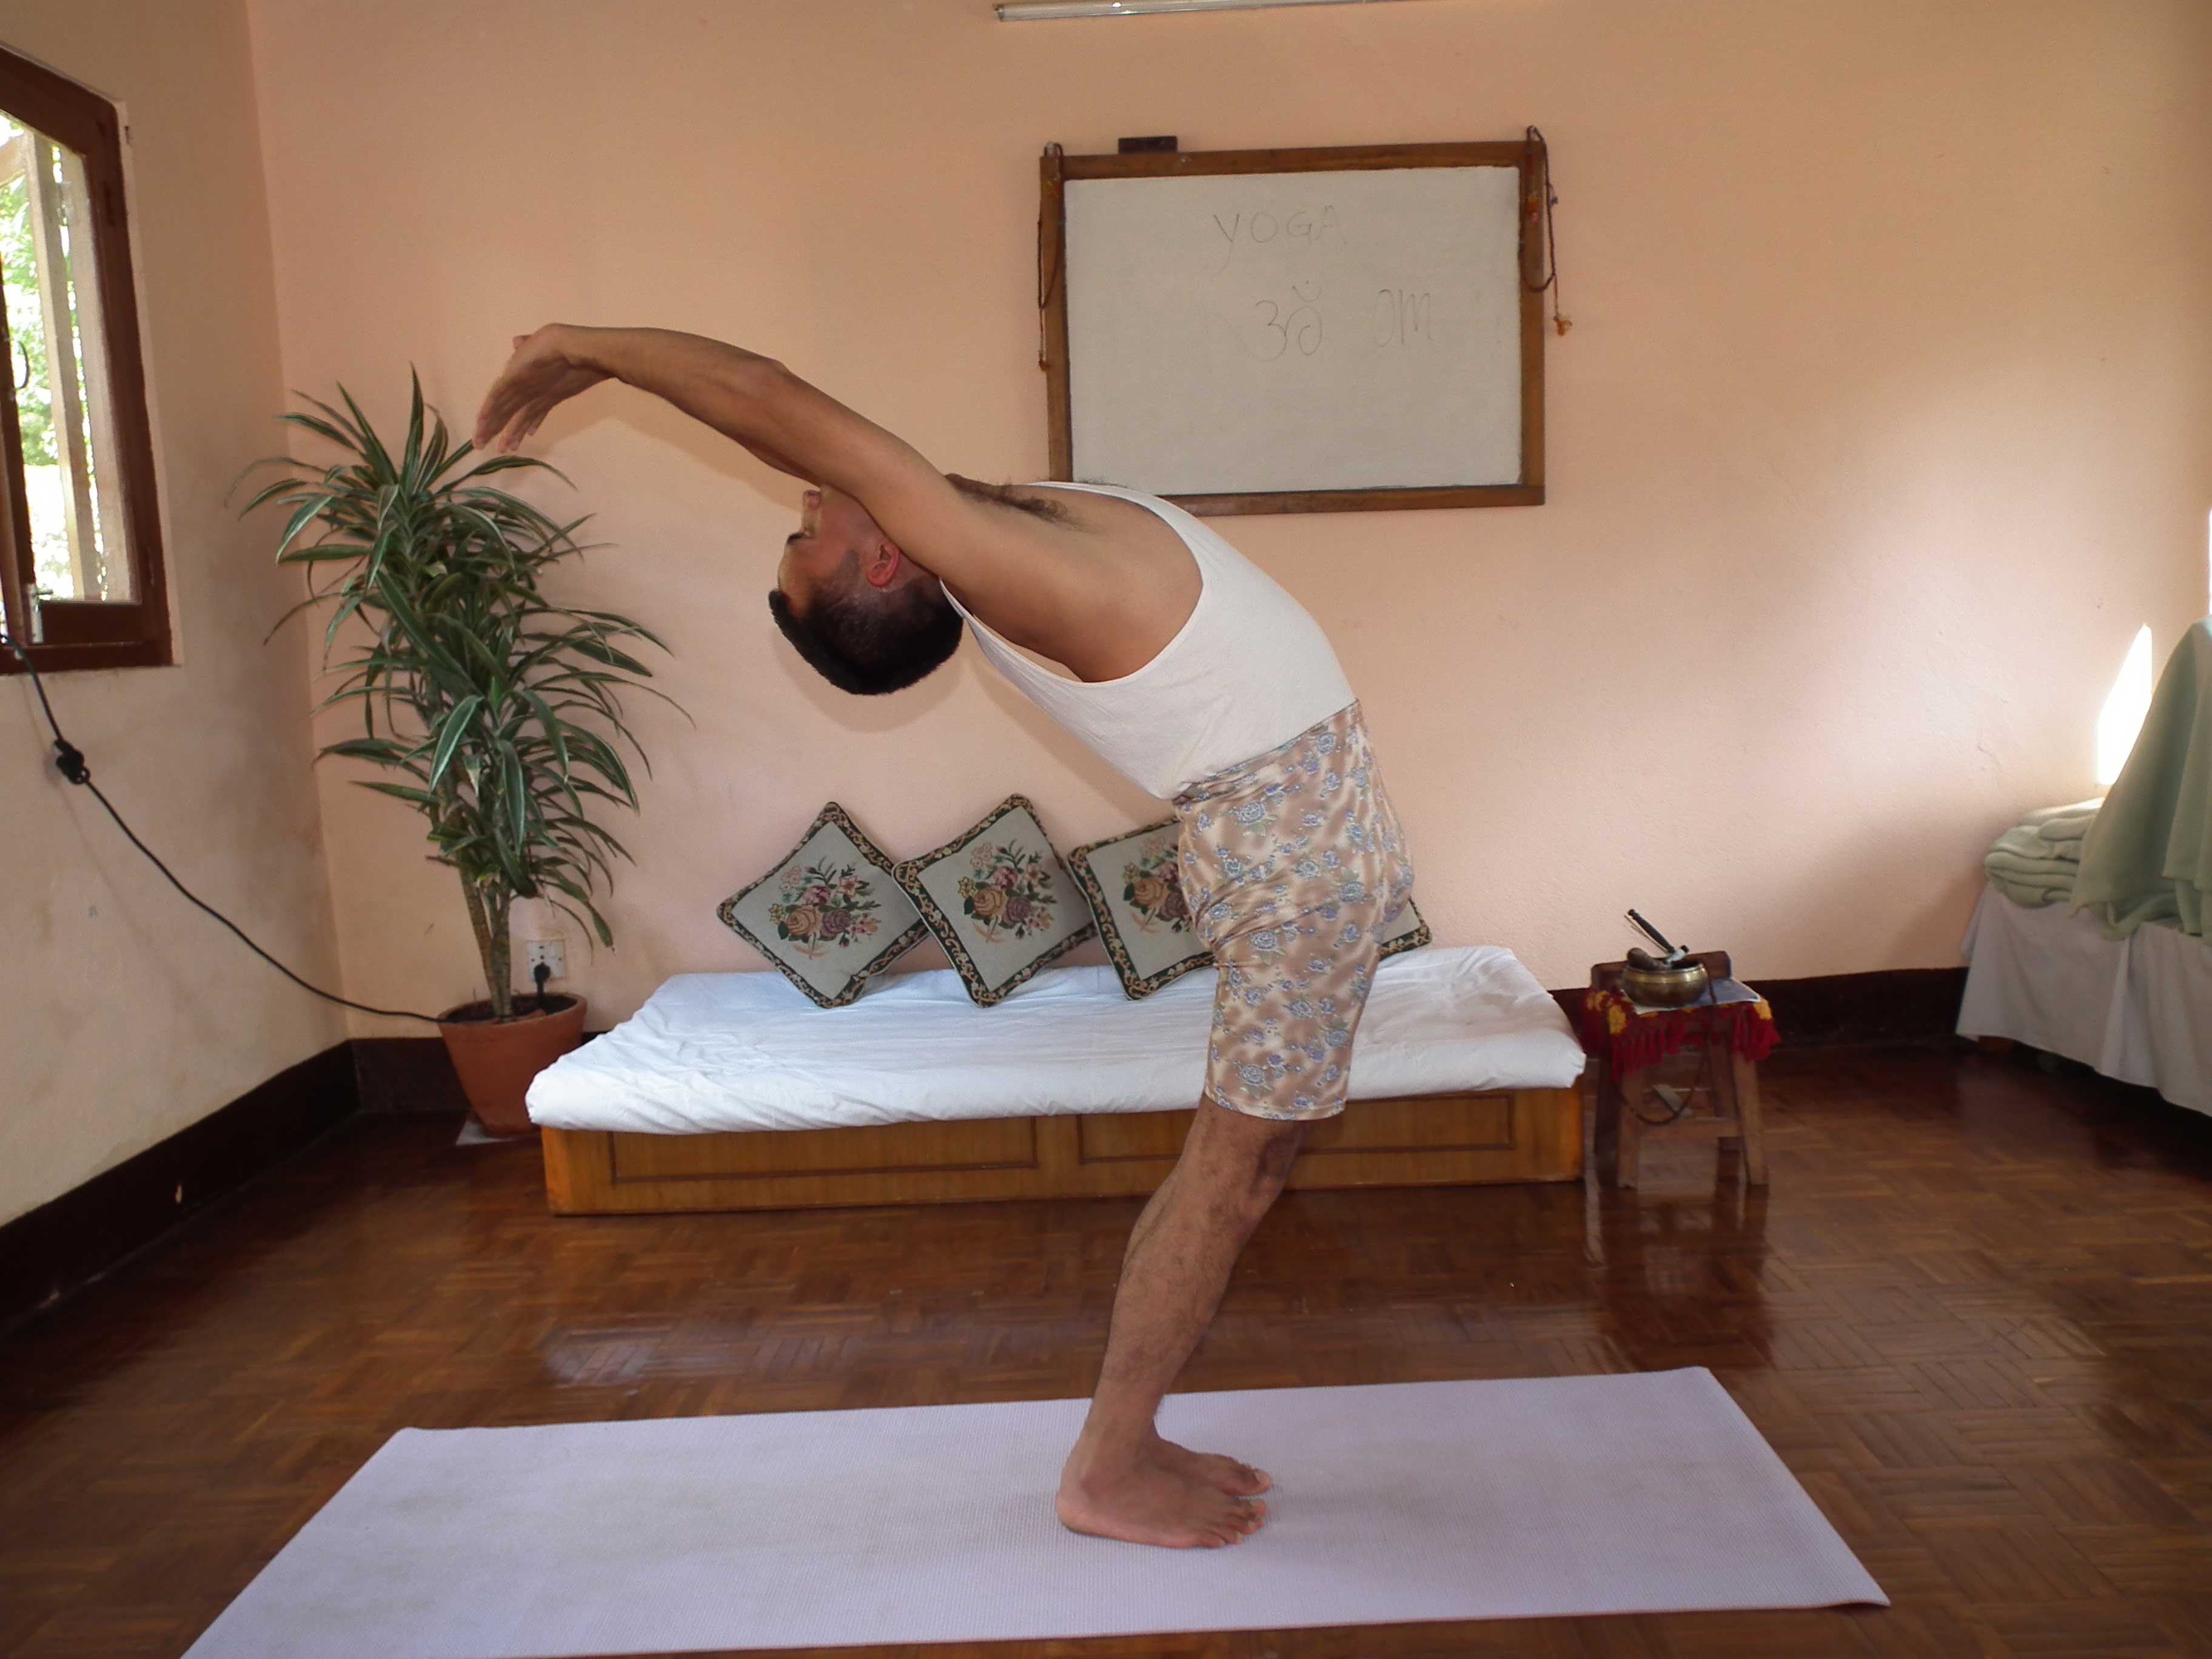
Breathing in, lift the arms up and back, keeping the biceps close to the ears. In this pose, the objective is to stretch the whole body up from the heels to the tips of the fingers. To get maximum benefits, you may pull the pelvis forward and ensure reaching up with your fingers rather than going backward.
Pose 3: Hand to Foot Pose (Hastapadasana)
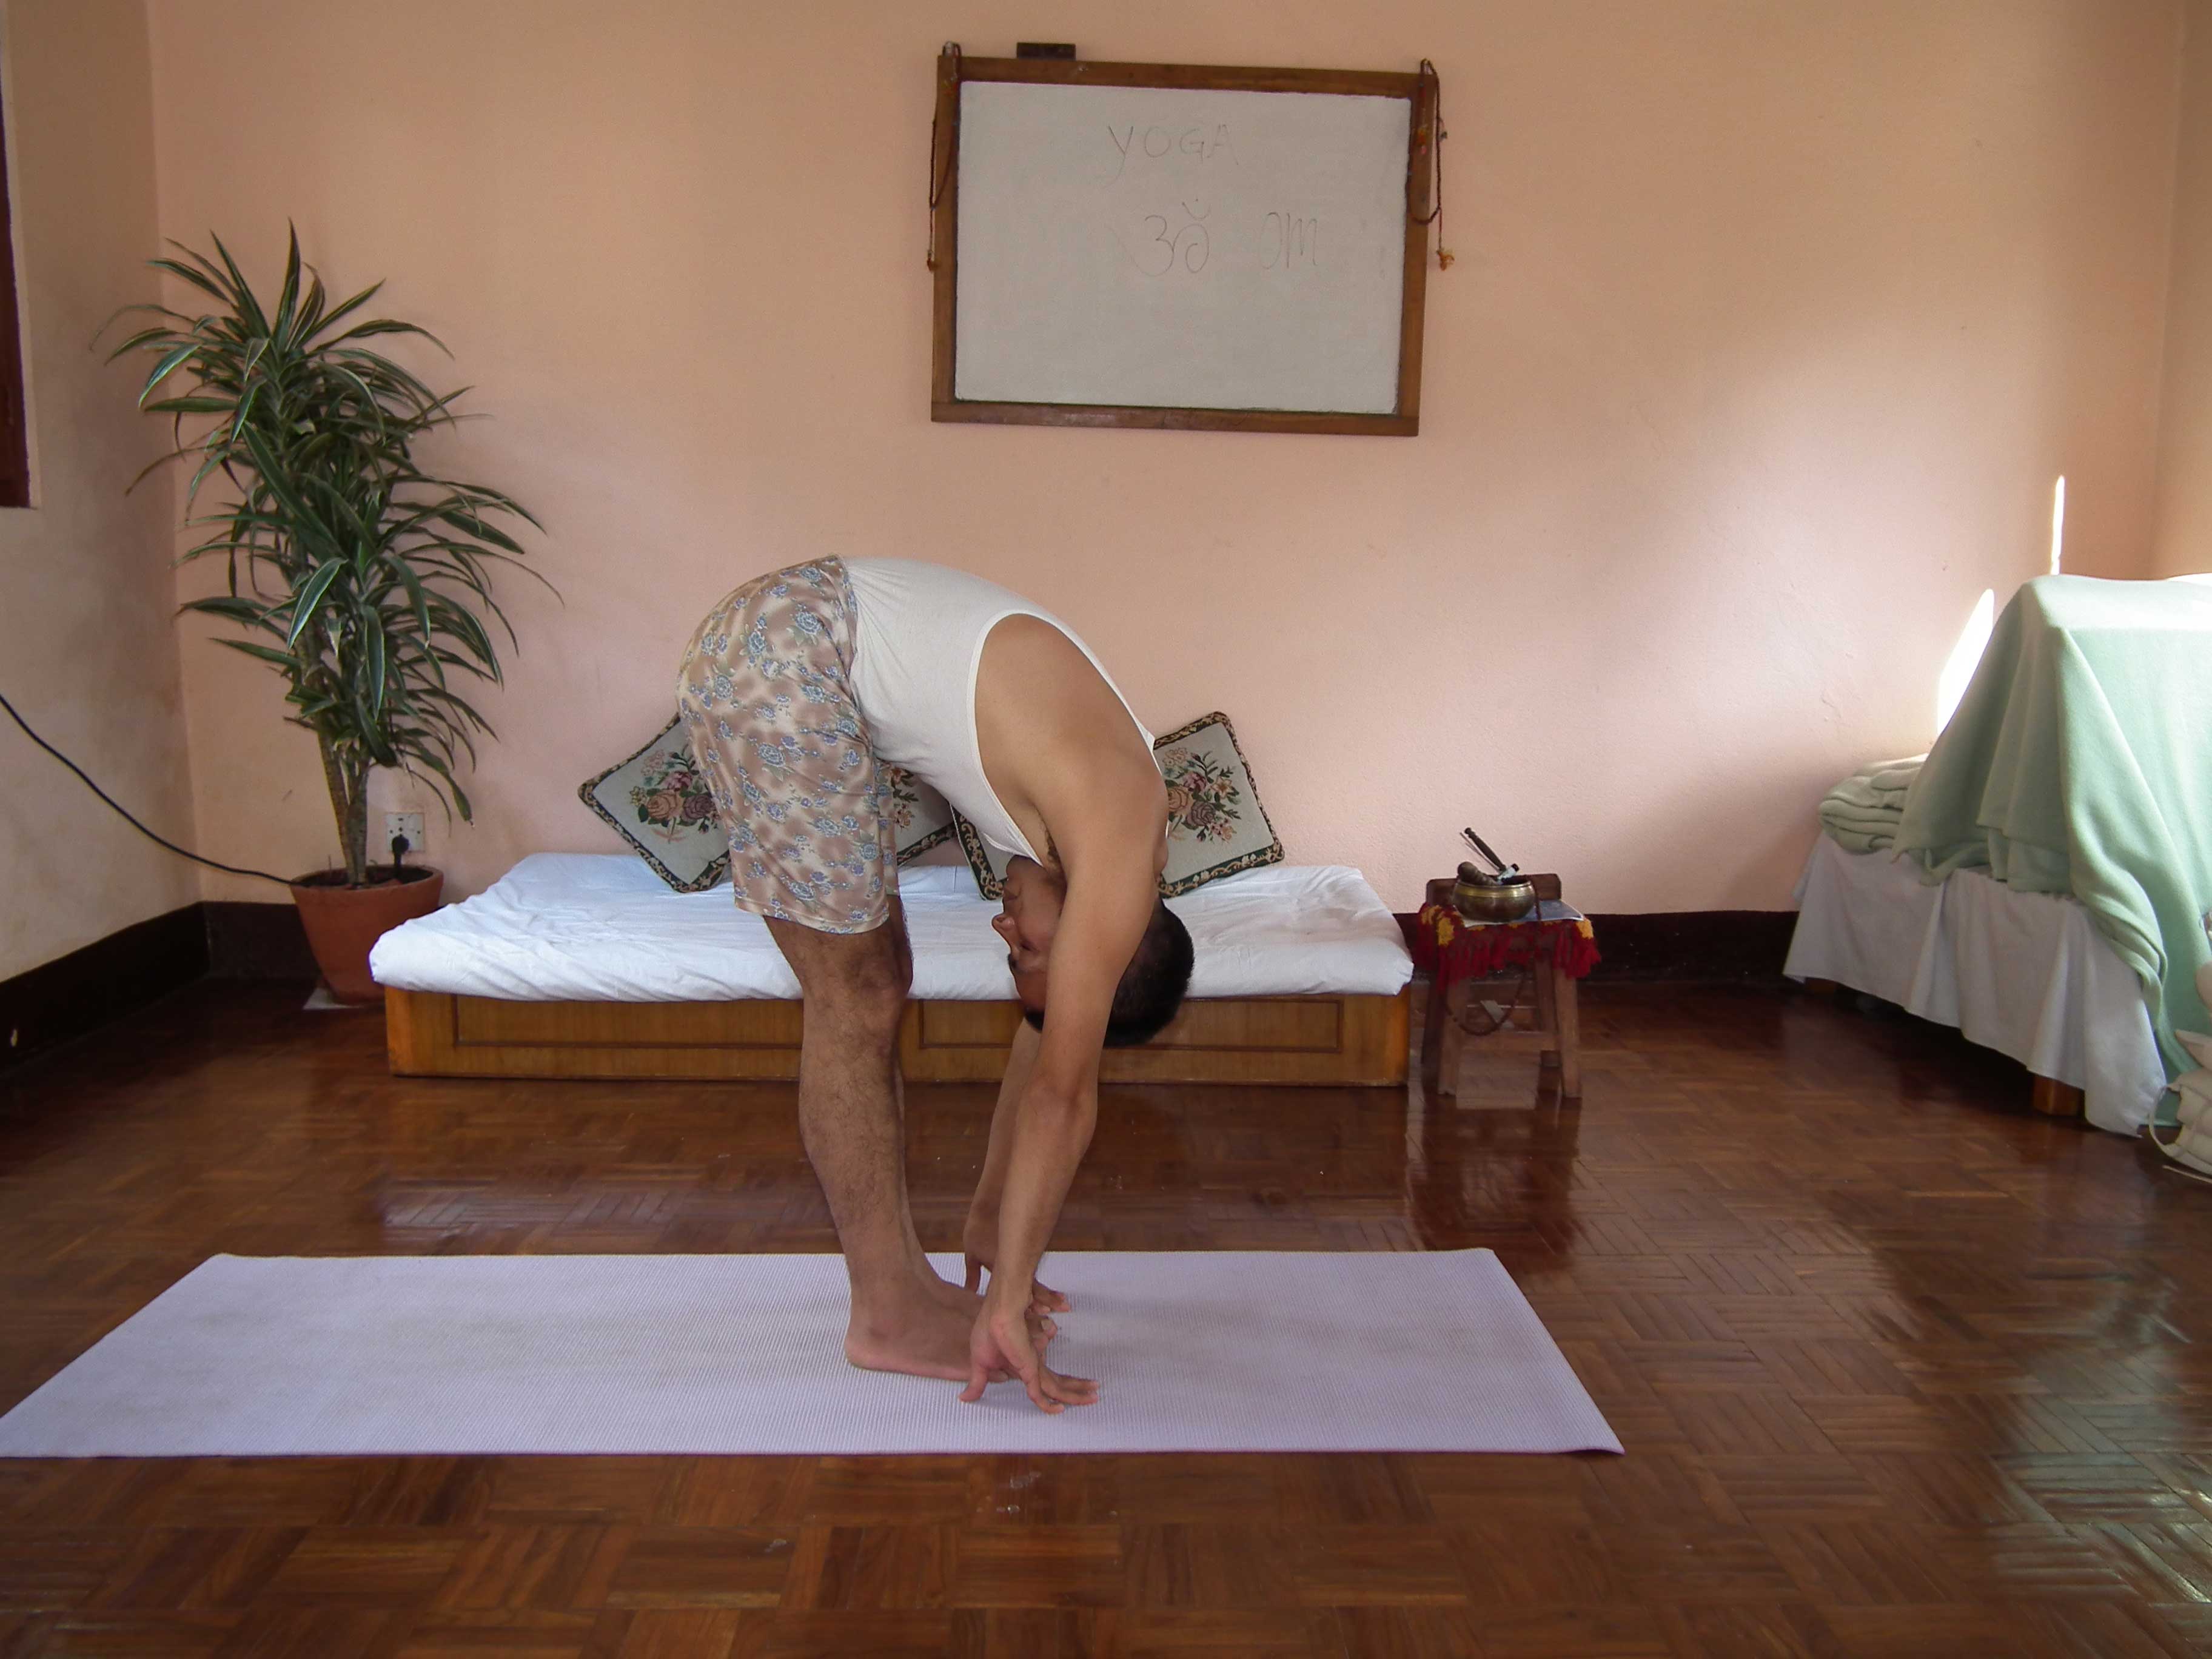
Breathing out, bend forward from the waist, keeping the spine erect. As you exhale completely, bring your hands down to the floor, beside your feet.
Pose 4: Equestrian Pose (Sanchalasana)

Crescent moon pose. Inhale and raise the arms above the head and extend the spine backward arching the back from the waist and moving the hips forward. Let the eyes follow the hands while relaxing your neck.
Pose 5: Mountain Pose (Parvatasana)
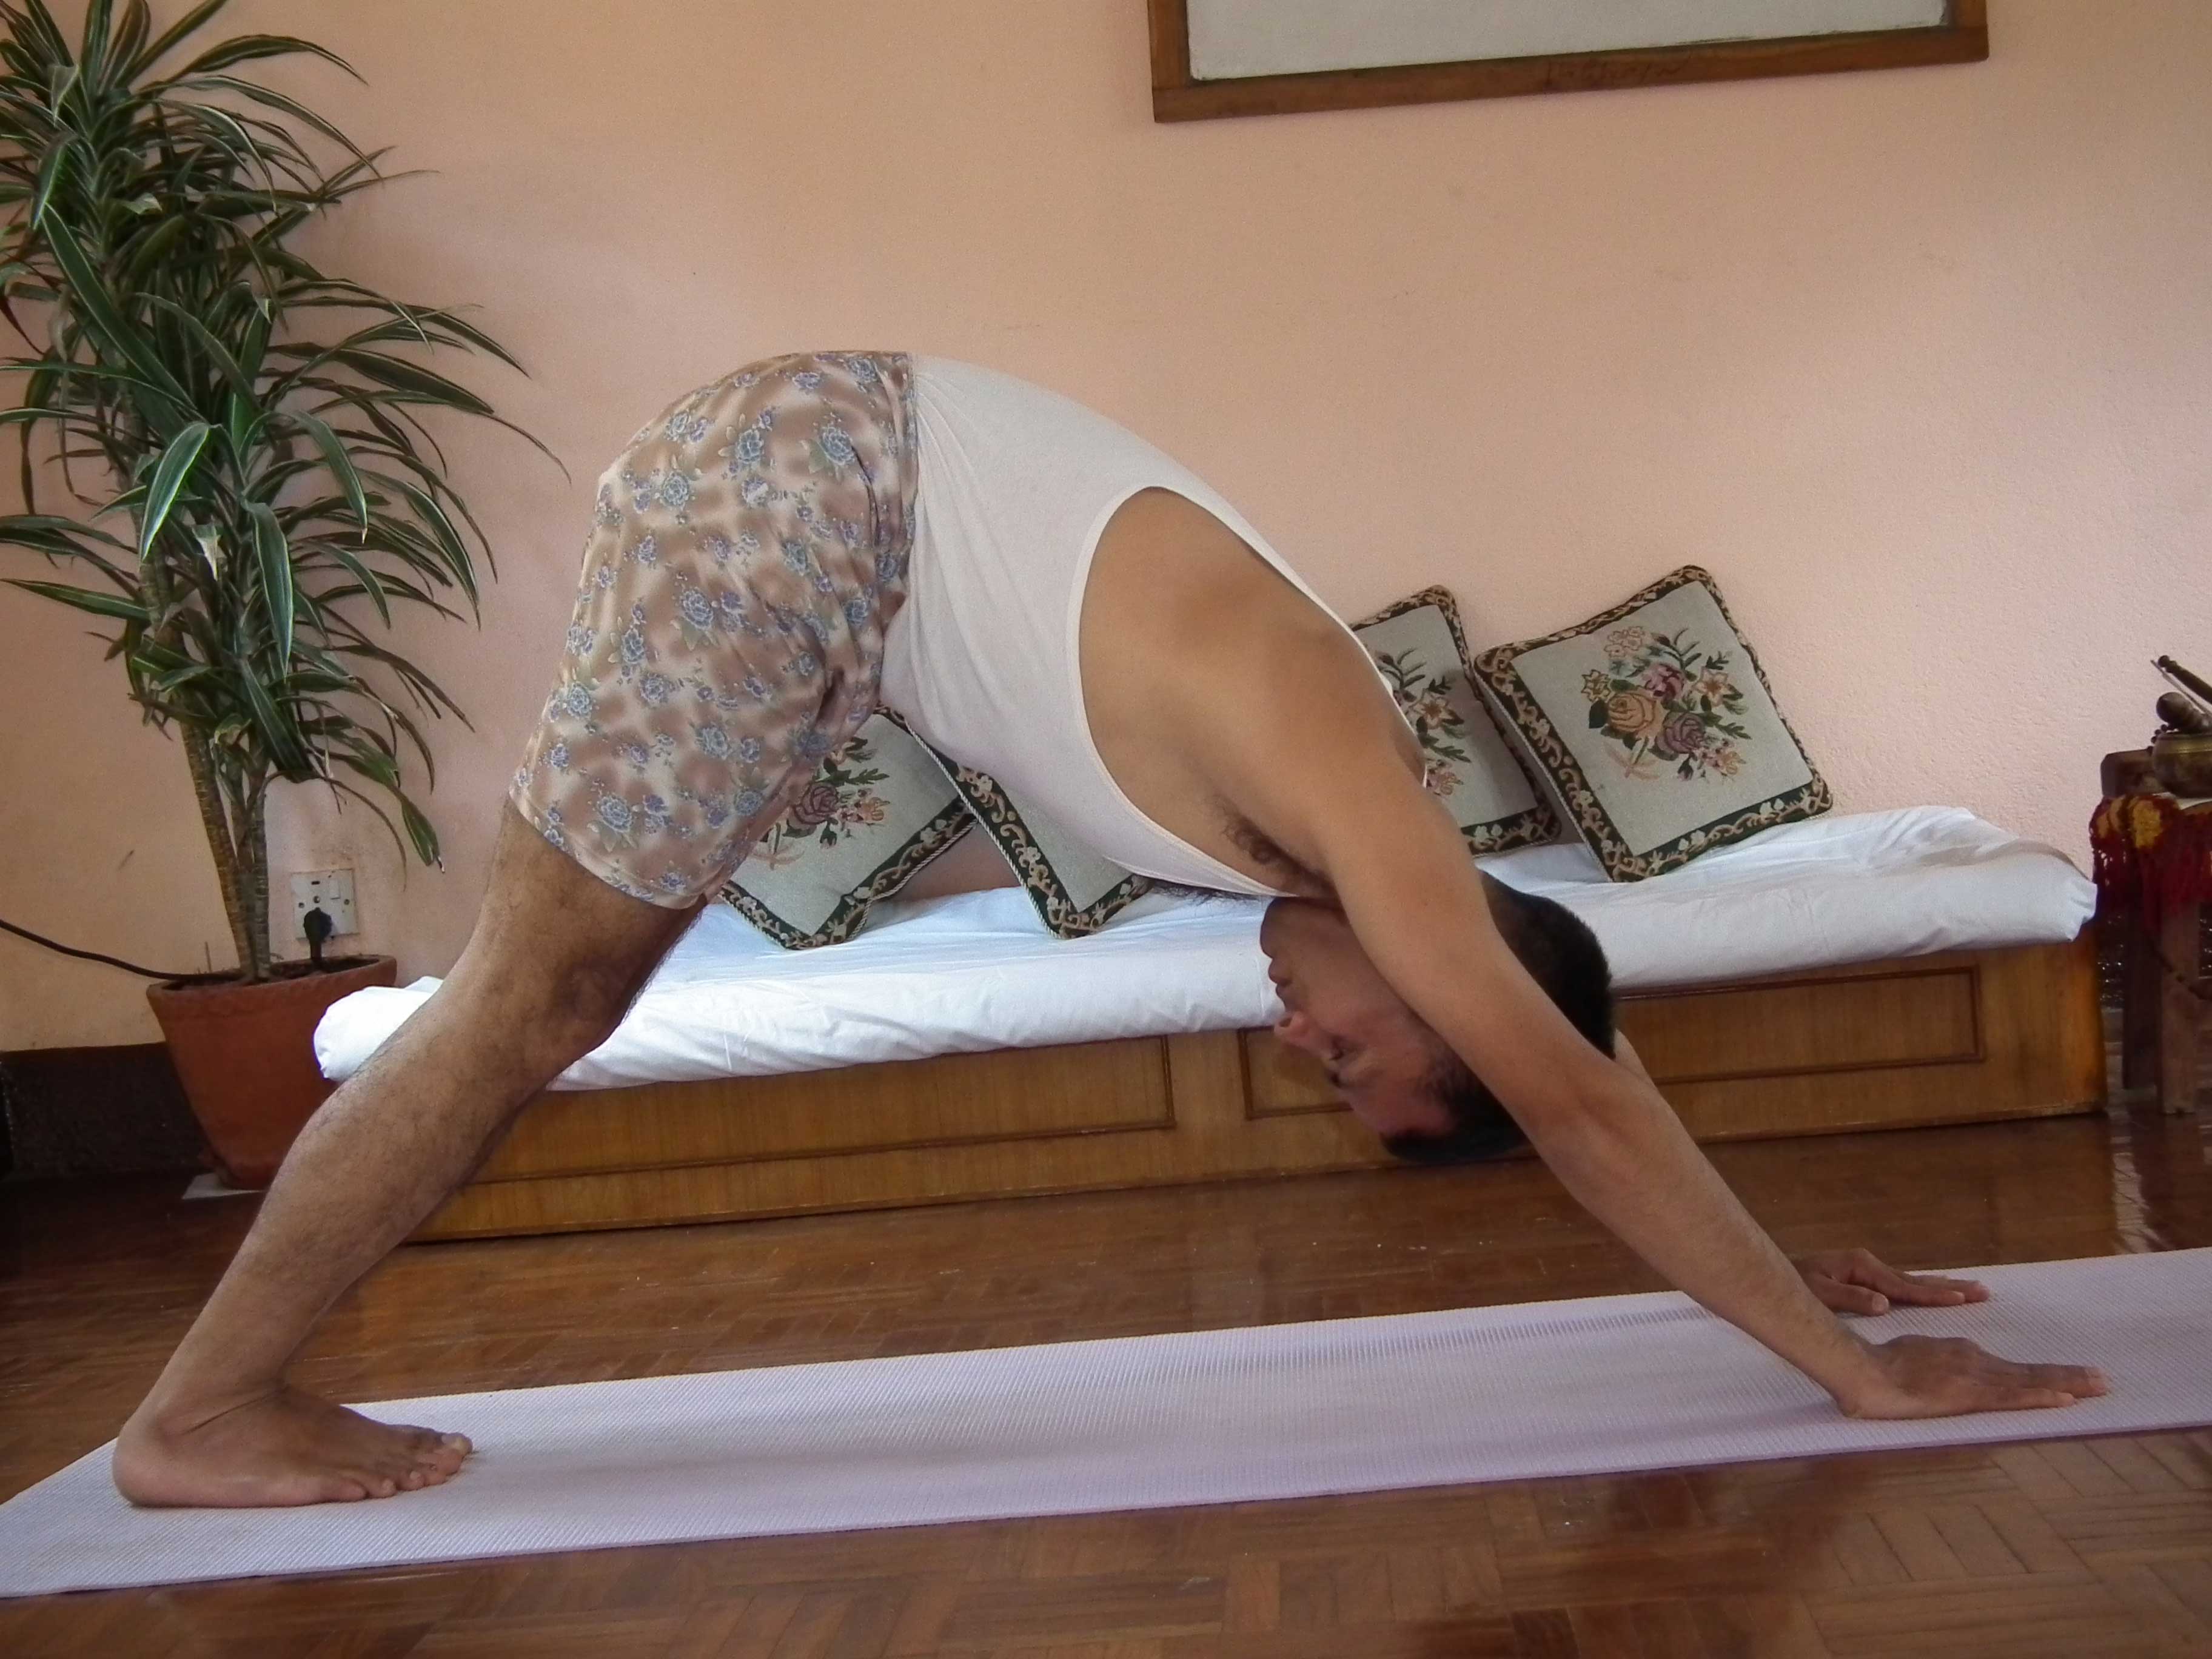
Exhale and bring the left foot back in line with the right. Lift the hips high like a mountain. Push the heels and head down and look at the toes with the head down between the arms.
Pose 6: Salutation Pose: Astanga Namaskar
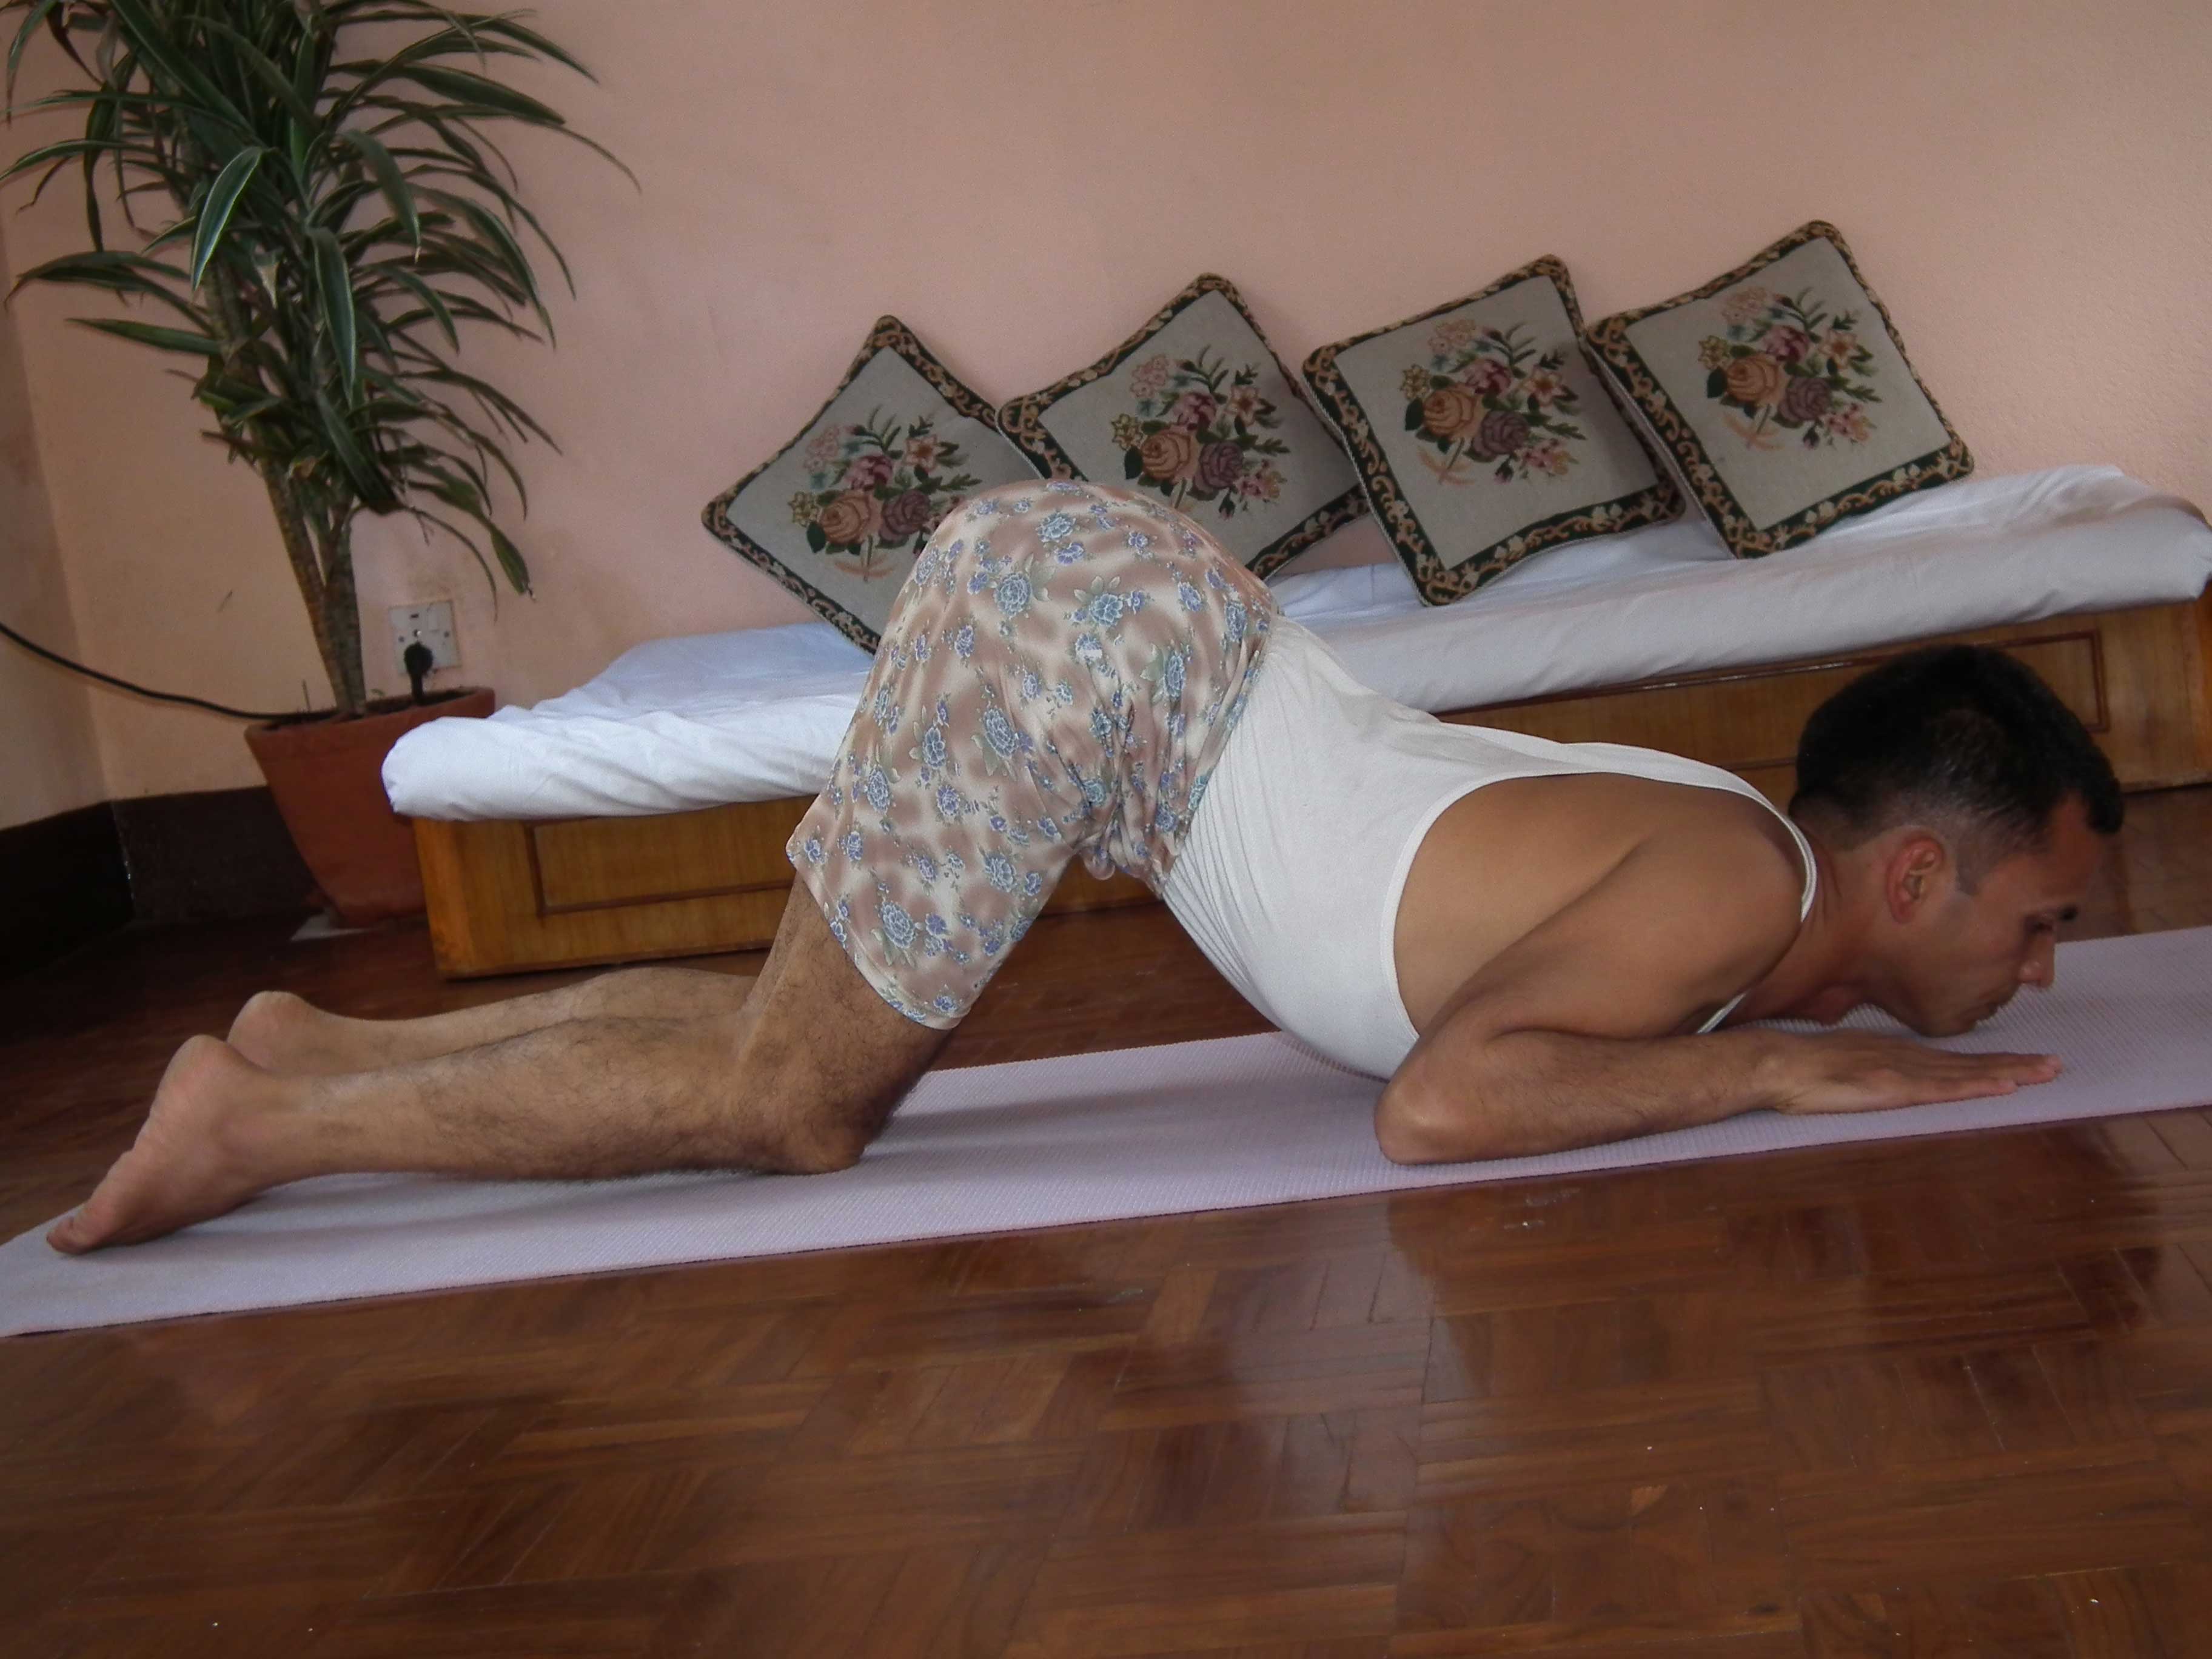
Put the knees down first and then bring the chest down. See that eight parts of the body are touching the floor including two feet, two knees, two hands, the chest, and the chin or forehead. Sashtang means eight limbs and dandawat means paying homage by touching the floor. Make sure the hips are slightly raised above the ground. Inhale and exhale in this position. Keep the feet together.
Pose 7: Cobra Pose (Bhujangasana)

Lower the pelvis and abdomen to the floor. Inhale and stretch the toes on the floor. Raise your head slowly up, arch the spine and neck, and look up. Keep your legs together and the elbows alongside the body slightly bent and keep the shoulders down.
Pose 8: Mountain Pose (Parvatasana)

Exhale and wiggle your toes forward allowing your feet to rest on the soles while you raise the hips as you did in number 5. If possible, try and keep the heels on the ground and make a gentle effort to lift the tailbone, going deeper into the stretch.
Pose 9: Equestrian Pose (Sanchalasa)

Inhale, and bring the right foot forward, and assume pose number 4 exactly as before. In this position, make a gentle effort to push the hips down towards the floor, to deepen the stretch.
Pose 10: Hand to Foot Pose (Hastapadasana)

Breathing out, bring the left foot forward. Keep the palms on the floor. You may bend the knees, if necessary. Gently straighten the knees and if you can, try and touch your nose to the knees. Keep breathing.
Pose 11: Raised Arms Pose ( Uttanasa)

Breathing in, roll the spine up, hands go up, and bend backward a little bit, pushing the hips slightly outward. Ensure that your biceps are beside your ears. The idea is to stretch up more rather than stretching backward.
Step 12: Prayer Pose (Pranamasana)

Exhale and stand erect bringing the hands back to the center of the chest with palms together as in pose number 1.
Benefits of Surya Namaskar (Sun Salutation)
1. Improves Muscles Flexibility
Each of the asanas done in Surya Namaskar centers around various muscle activities and operational hubs called Chakras. This aids in conditioning practically the entire of your body parts including arms, abs, thighs, and butt. It improves the body’s adaptability. As the muscle tone improves your general identity is upgraded also.
2. Improves Blood Circulation of the Body
Due to the active process of inhalation and exhalation, the lungs are constantly ventilated and the blood remains oxygenated. It’s a great way of detoxing your body and helping it get rid of excess carbon dioxide and other toxic gases. Surya Namaskar’s sequence of postures is the most scientific as it completes the circuit within the body. The cycle of blood flowing in and out from the heart into the right and left sides of the body is completed.
3. Good Digestion And Help in Weight Loss
Appropriate exercise and legitimate rest alongside a decent eating routine outcomes in improved insulin affectability and expands digestion. This certainly animates the stomach-related tract by creating the correct sort of stomach-related juices. Diverse asanas in Surya Namaskar guide the bloodstream to different indispensable organs which ensure improved execution.
4. Improves Energy and Awareness Levels
Alongside asanas, the breathing example is additionally a significant part of Surya Namaskar. It gives a profound cognizant unwinding to the body and brain. It expands the mindfulness. The casual personality and more beneficial body at that point result in improved vitality levels.
5. Anti-anxiety and Calming Properties
Surya Namaskar helps to improve memory and the nervous system. Moreover, it stabilizes the activity of the endocrine and thyroid glands. Thereby reducing anxiety and inducing the sensation of complete calmness and tranquility.
6. The sensitivity of the Heart Chakra
While engaging Surya Namaskar, both hands are joined together connecting to the center of the heart, these many beliefs activate the heart chakra and motivate the lotus heart to become more sensitive.
The Art of Yoga
Introduction:The Art of Yoga
Teaching children yoga along with the principles of Fine Art. In this case, drawing and painting is an idea that I am in the process of exploring with the help of some young, eager, and willing volunteers.
This idea grew out of my experience with:
1.The profound effect yoga has had on my work as a painter.
2. A deepening understanding, through personal experiences and the shared knowledge of art educators, of ways in which this principle of drawing and painting can be taught to others, providing them with the tools to express their innate creativity.
3. The imagination of a little six-year-old girl, Sabria, who during a spontaneous session of creative visualization, described this wonderful interior house she saw in her mind made of candy with “sweet water flowing curtains”
On a more subtle level, our dreams speak to us in the language of colourful images. The chakras are energy centers with specific colors and symbolic patterns that influence transformation. Each chakra’s color aligns with a unique vibrational frequency tied to physical and spiritual well-being. These colors and patterns guide healing, balance, and spiritual awakening. We have worlds upon worlds of colour, symbols, and images within us, yet we go through life not having full access to this part of ourselves. There is always an internal beginning with any outward creative expression.
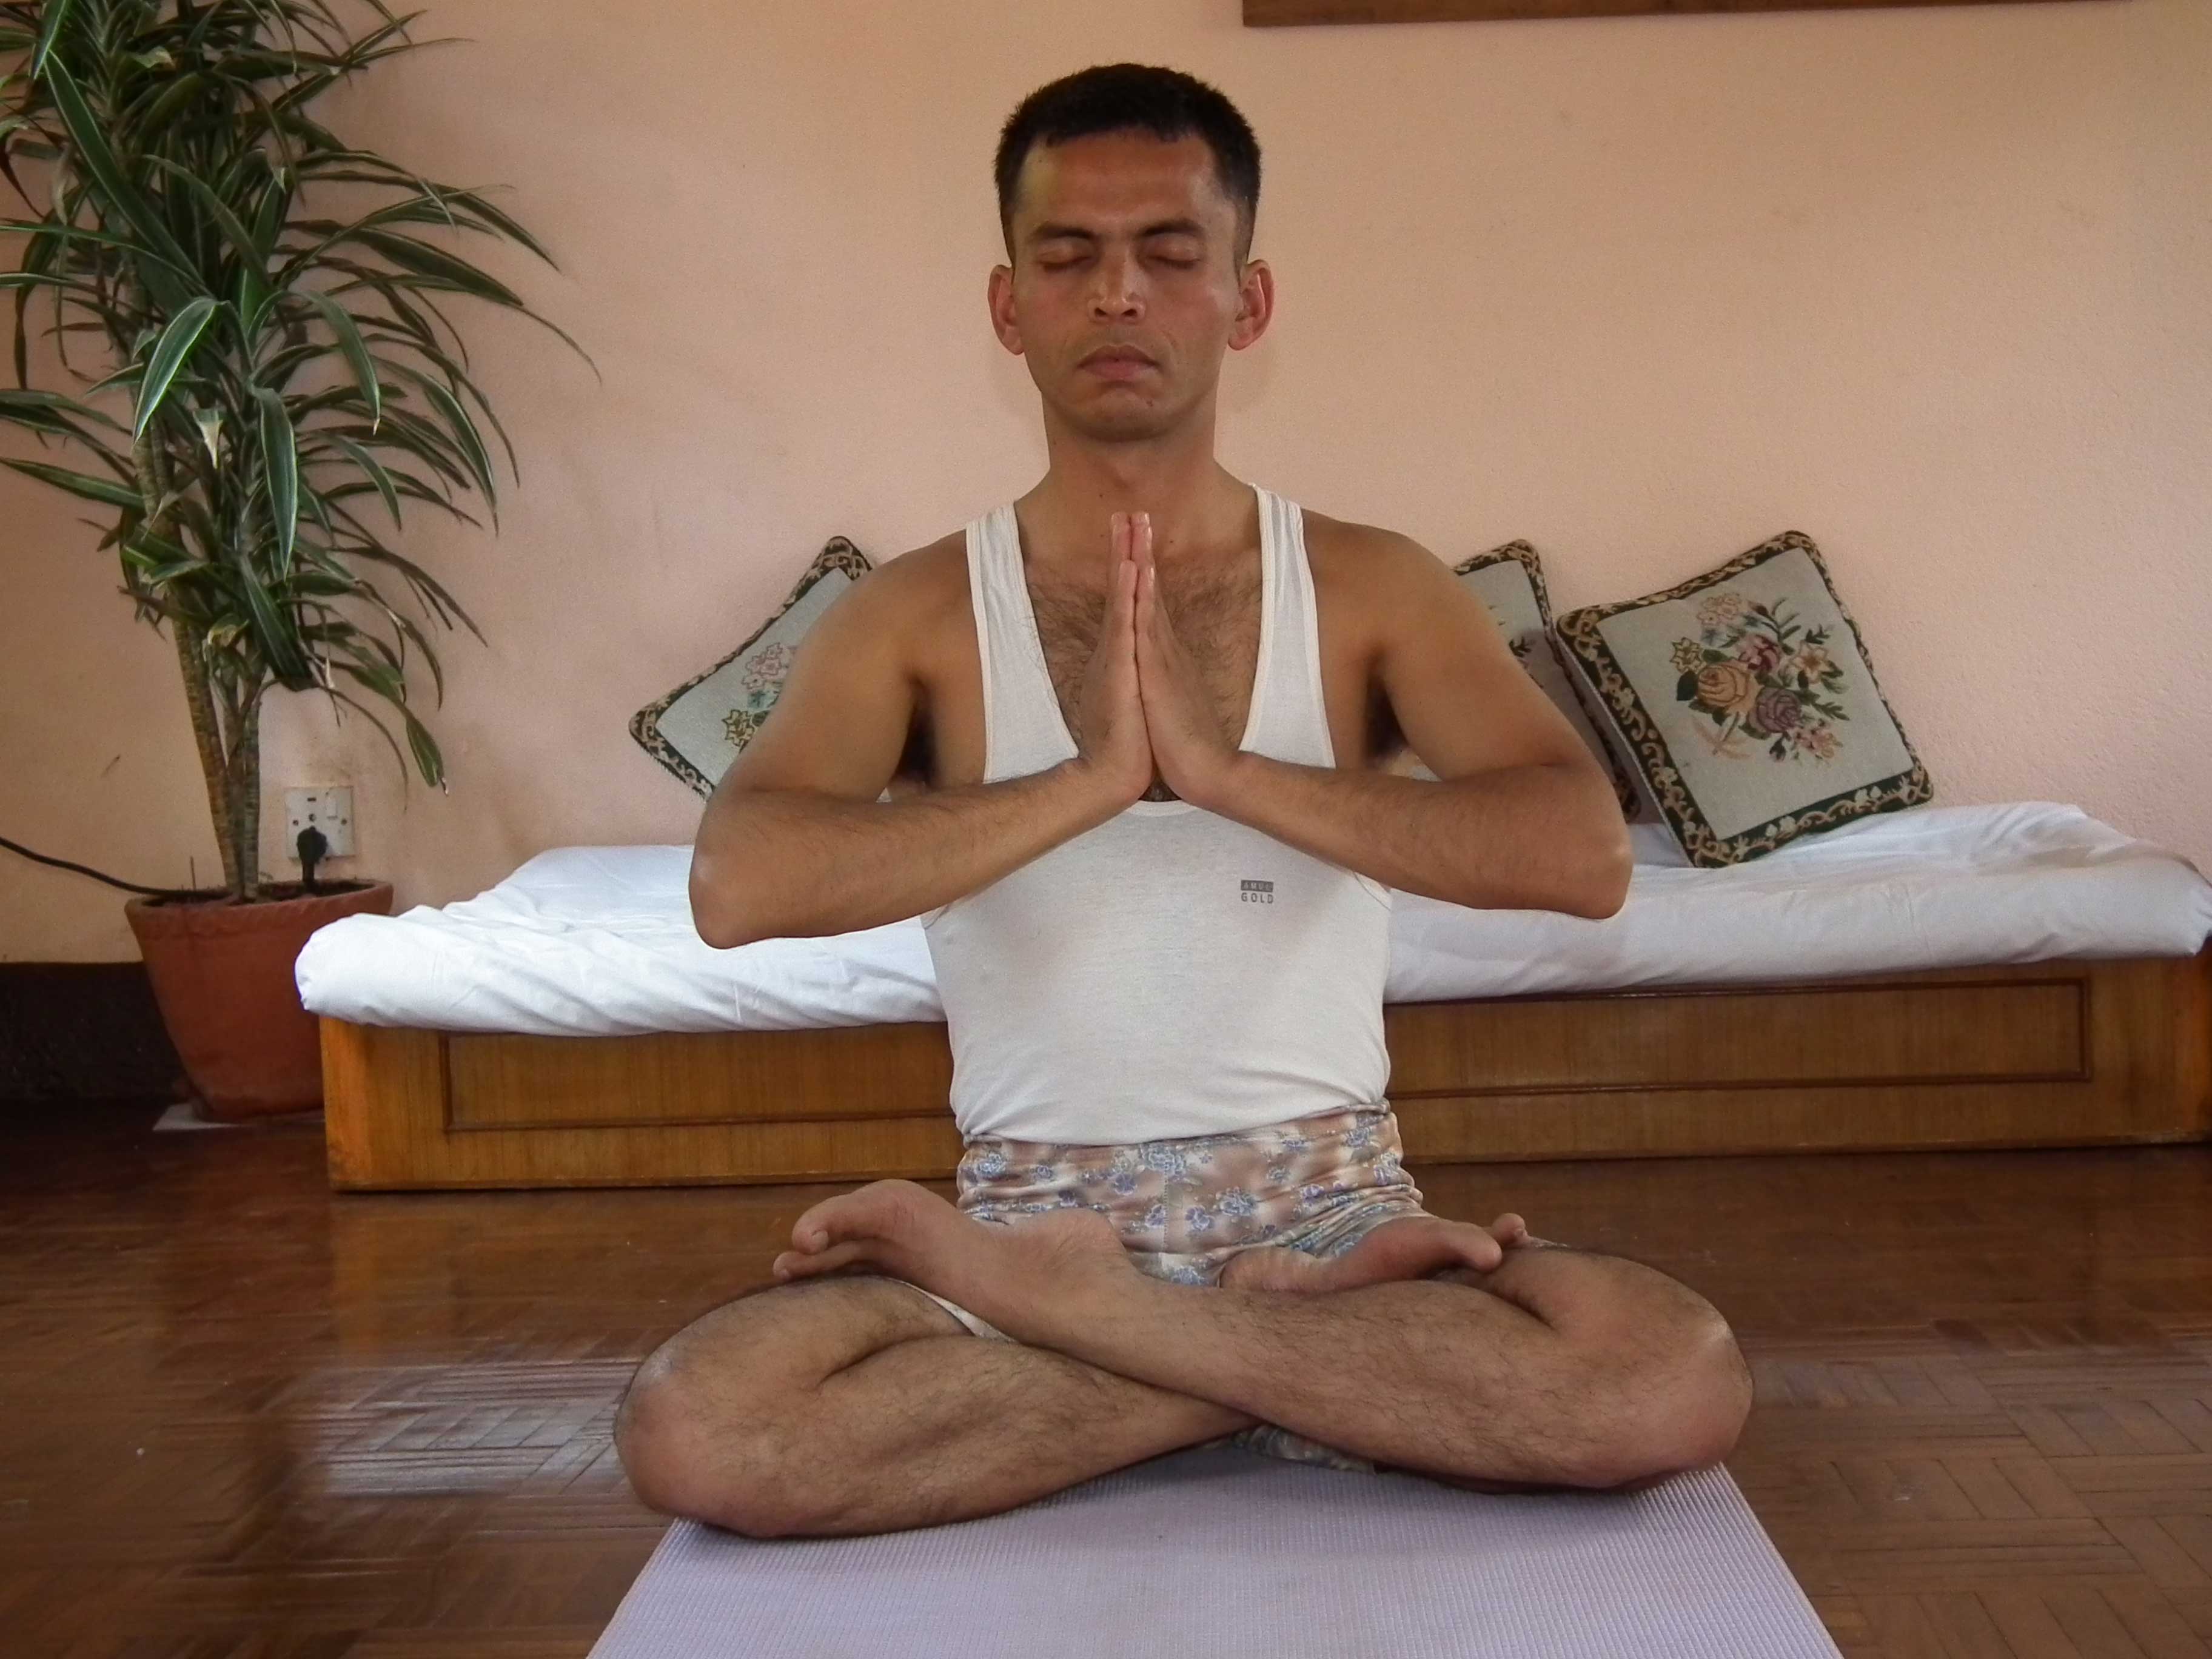
Some of the invaluable yoga practices include:
1. Chanting the mantra ‘Aum’ before starting any project, to acknowledge the presence of the creative power, from where all ideas and inspiration come.
2. Asana and Pranayama, to balance and still restlessness in the body and mind. It is a vital requirement for creative endeavors that demand long hours of being in one place to complete a painting, sculpture, etc.
3. Trataka, so invaluable in helping to develop the concentration and focus needed to perfect sometimes tedious details that are essential to bring the work to completion.
4. Yoga Nindra and Chidakasha dharana, help to clear any psychological blocks that would impede the creative process, while at the same time allowing images, that can be therapeutic or expressed creatively, to surface.
5. Antar Mouna, to help access the wonderful unlimited world of our imagination.
6. Creative Visualization, to help access the wonderful unlimited world of our imagination.
With the help of these and many other yogic practices, the body and mind are prepared to express creativity. Combine this with learning in a simple way such as drawing and painting skills as:
# Exercises to develop proper seeing for drawing purposes.
# Contour drawing, to train the mind to relate to the hand, the subtle change in the shape of an object. Color Mixing, gives ability to mix the exact color you want, without having to depend on buying a particular tube of paint.
# Perspective, to create a three-dimensional depth.
# Negative and Positive space, to create an interesting composition where all aspects of the image support each other as either the dominant or surrounding shape.
With these and other creative tools, it is easier to express outwardly the inner creative stirrings.
The lessons presented here were for the most part created especially in keeping with the theme of the Yogic Magic Carpet Rides, which seeks to facilitate a greater understanding between different cultures.
Yoga may be seen in these lessons as be silent partner, almost in the form of play, but its importance in helping the mind and body to be effective ‘instruments’ in the creative process speaks in a loud voice.
