25 Feb 2020 HYN Himalayan Yoga Academy
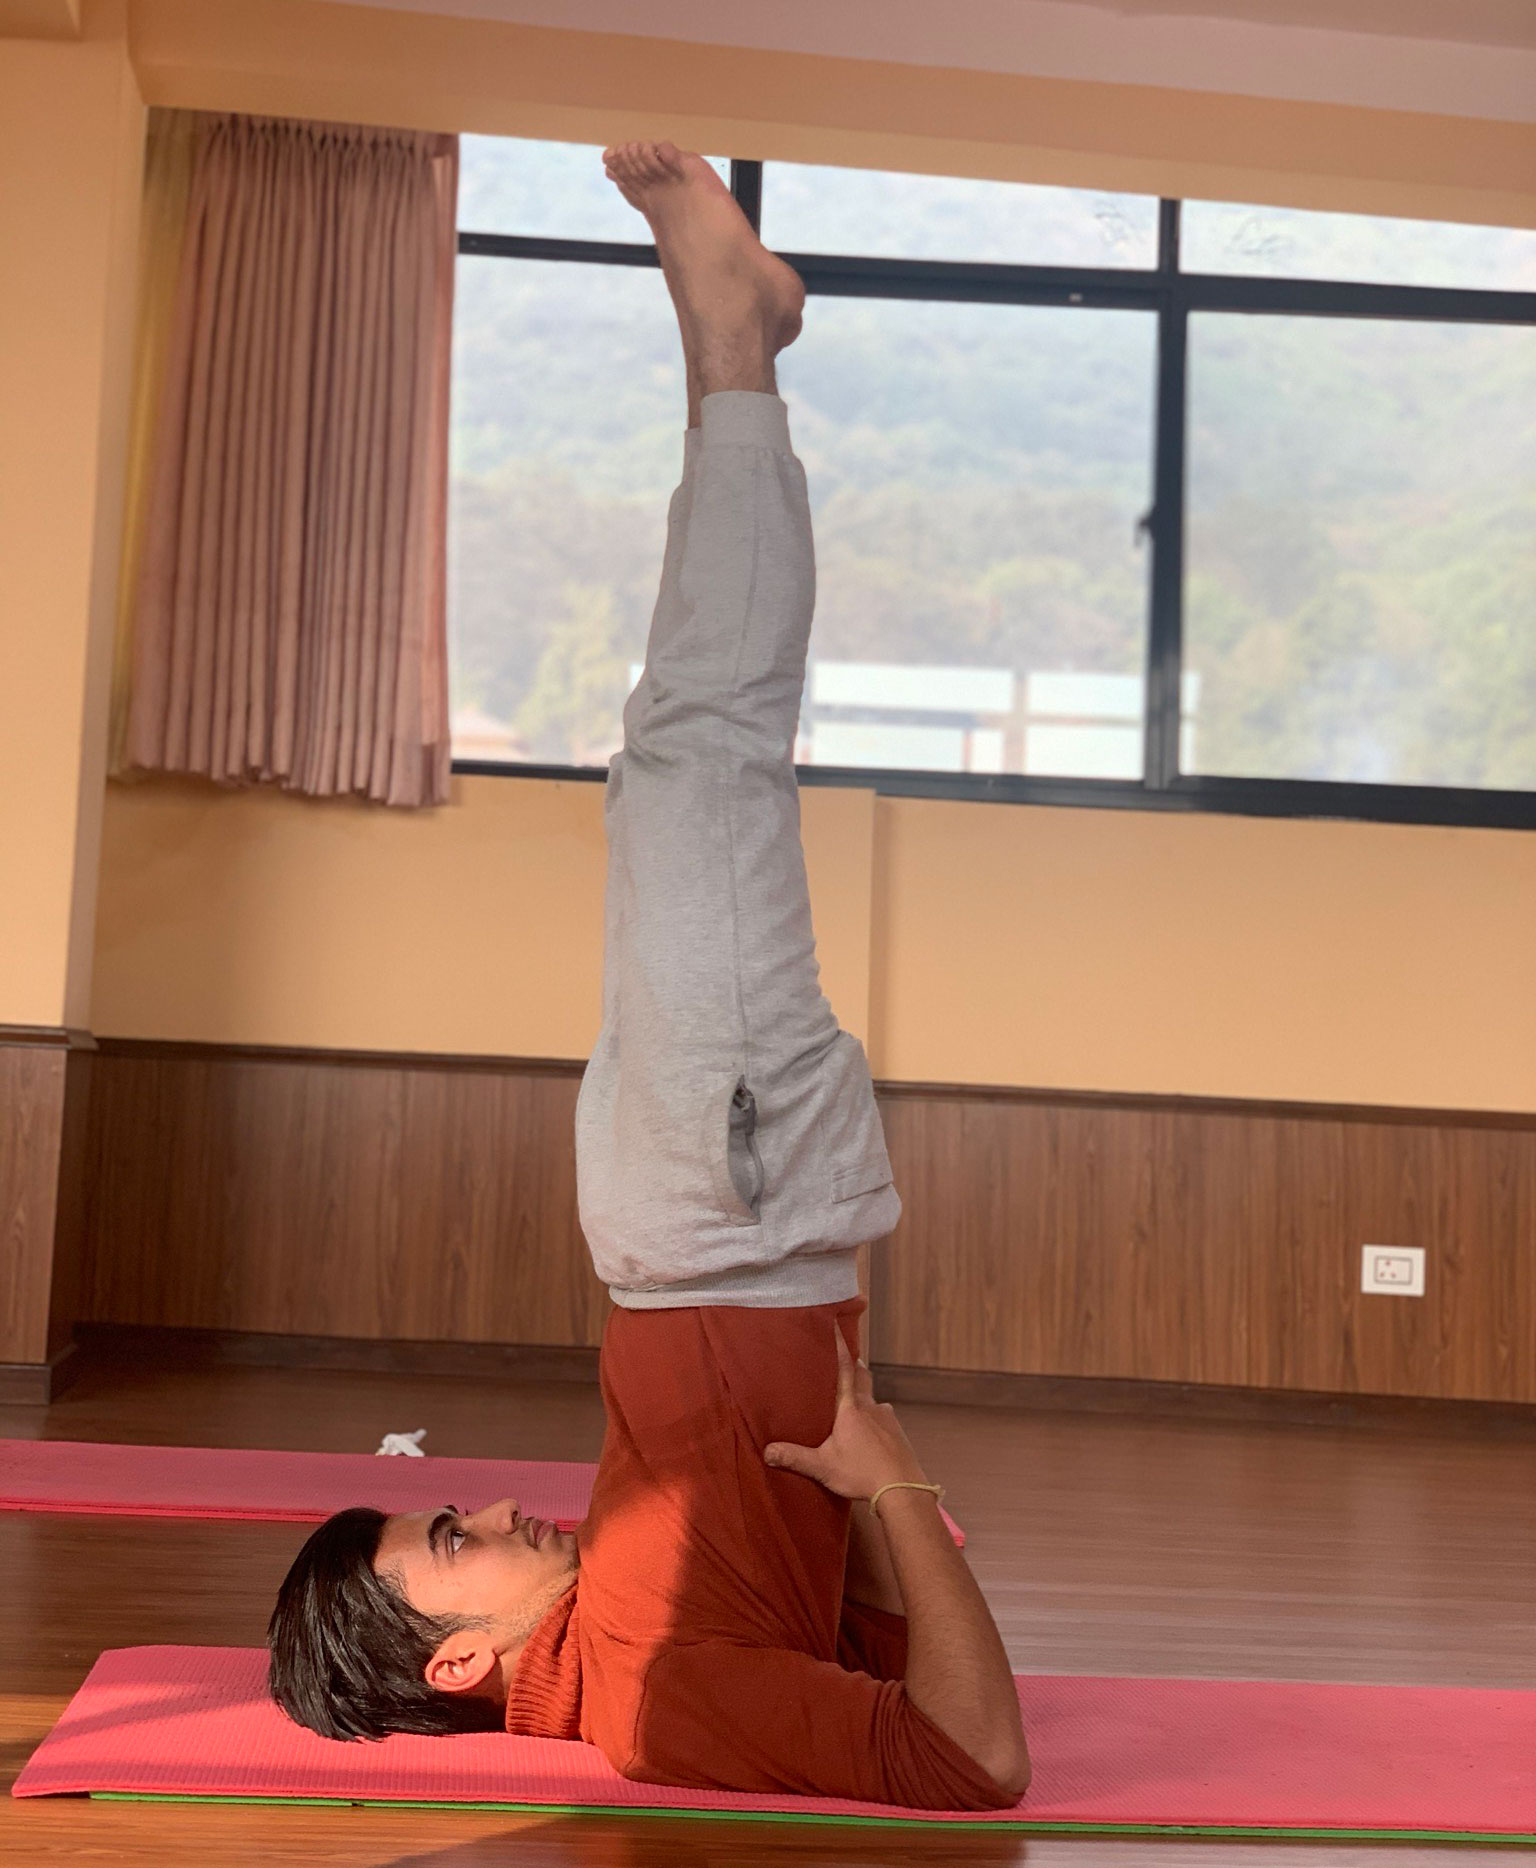
“Sarv” means all or entire in Sanskrit, and “anga” means limbs or parts of the body. So Sarvangasana translates as the all limbs pose, or the pose that benefits the entire body. Also commonly called the “Queen of all asanas”, the shoulder stand is one of the most important and beneficial poses in all of yoga. While this pose benefits the whole body from the toes to the top of the head, the pose also bestows tremendous psychological and energetic benefits. This asana is known to tranquilize the mind, and bring joy and confidence while helping to transmute lower energies.
POSE TYPE: Supine Pose
POSE CATEGORY: Inversion
ORIGIN: Hatha Yoga Pradipika
SANSKRIT: Sarvangasana (सर्वाङ्गासन)
PRONUNCIATION: sar-van-GAHS-anna
TRANSLATION: Sarva = All Anga = Limbs (Posture of All Limbs), Shoulder Stand
Health Benefits of Sarvangasana
- Stimulates the thyroid and parathyroid glands for proper health.
- Strengthens the arms and shoulders and keeps the spine flexible
- More blood rushes to head creating proper nourishment.
- Stretches the heart muscles by returning more venous blood to the heart
- Brings relief from constipation, indigestion and varicose veins.
- Tones the legs and buttocks, abdominal and reproductive organs.
How to Do Sarvangasana (Shoulder Stand)
- Lie on your back with hands by your side.
- With one movement, lift your legs, buttocks and back so that you come up high on your shoulders. Support your back with the hands.
- Move your elbows closer towards each other, and move your hands along your back, creeping up towards the shoulder blades. Keep straightening the legs and spine by pressing the elbows down to the floor and hands into the back. Your weight should be supported on your shoulders and upper arms, and not on your head and neck.
- Keep the legs firm. Lift your heels higher as though you are putting a footprint on the ceiling. Bring the big toes straight over the nose. Now point the toes up. Pay attention to your neck. Do not press the neck into the floor. Instead keep the neck strong with a feeling of tightening the neck muscles slightly. Press your sternum toward the chin. If you feel any strain in the neck, come out of the posture.
- Keep breathing deeply and stay in the posture for 30-60 seconds.
- To come out of the posture, lower the knees to forehead. Bring your hands to the floor, palms facing down. Without lifting the head slowly bring your spine down, vertebra by vertebra, completely to the floor. Lower the legs to the floor. Relax for a minimum of 60 seconds.
Sarvangasana Contra-Indications
- Neck injury
- Slipped discs
- High blood pressure
- Heart ailments
- Thrombosis or impure blood
- Enlarged thyroid, liver, or spleen
- Cervical spondylitis
- Diarrhea
